First I picked out my fabrics (courtesy of Pine Needle Quilt Shop) http://www.pineneedlequiltshop.com/

Then I did a lot of cutting of fabrics, ironing, and sewing blocks together


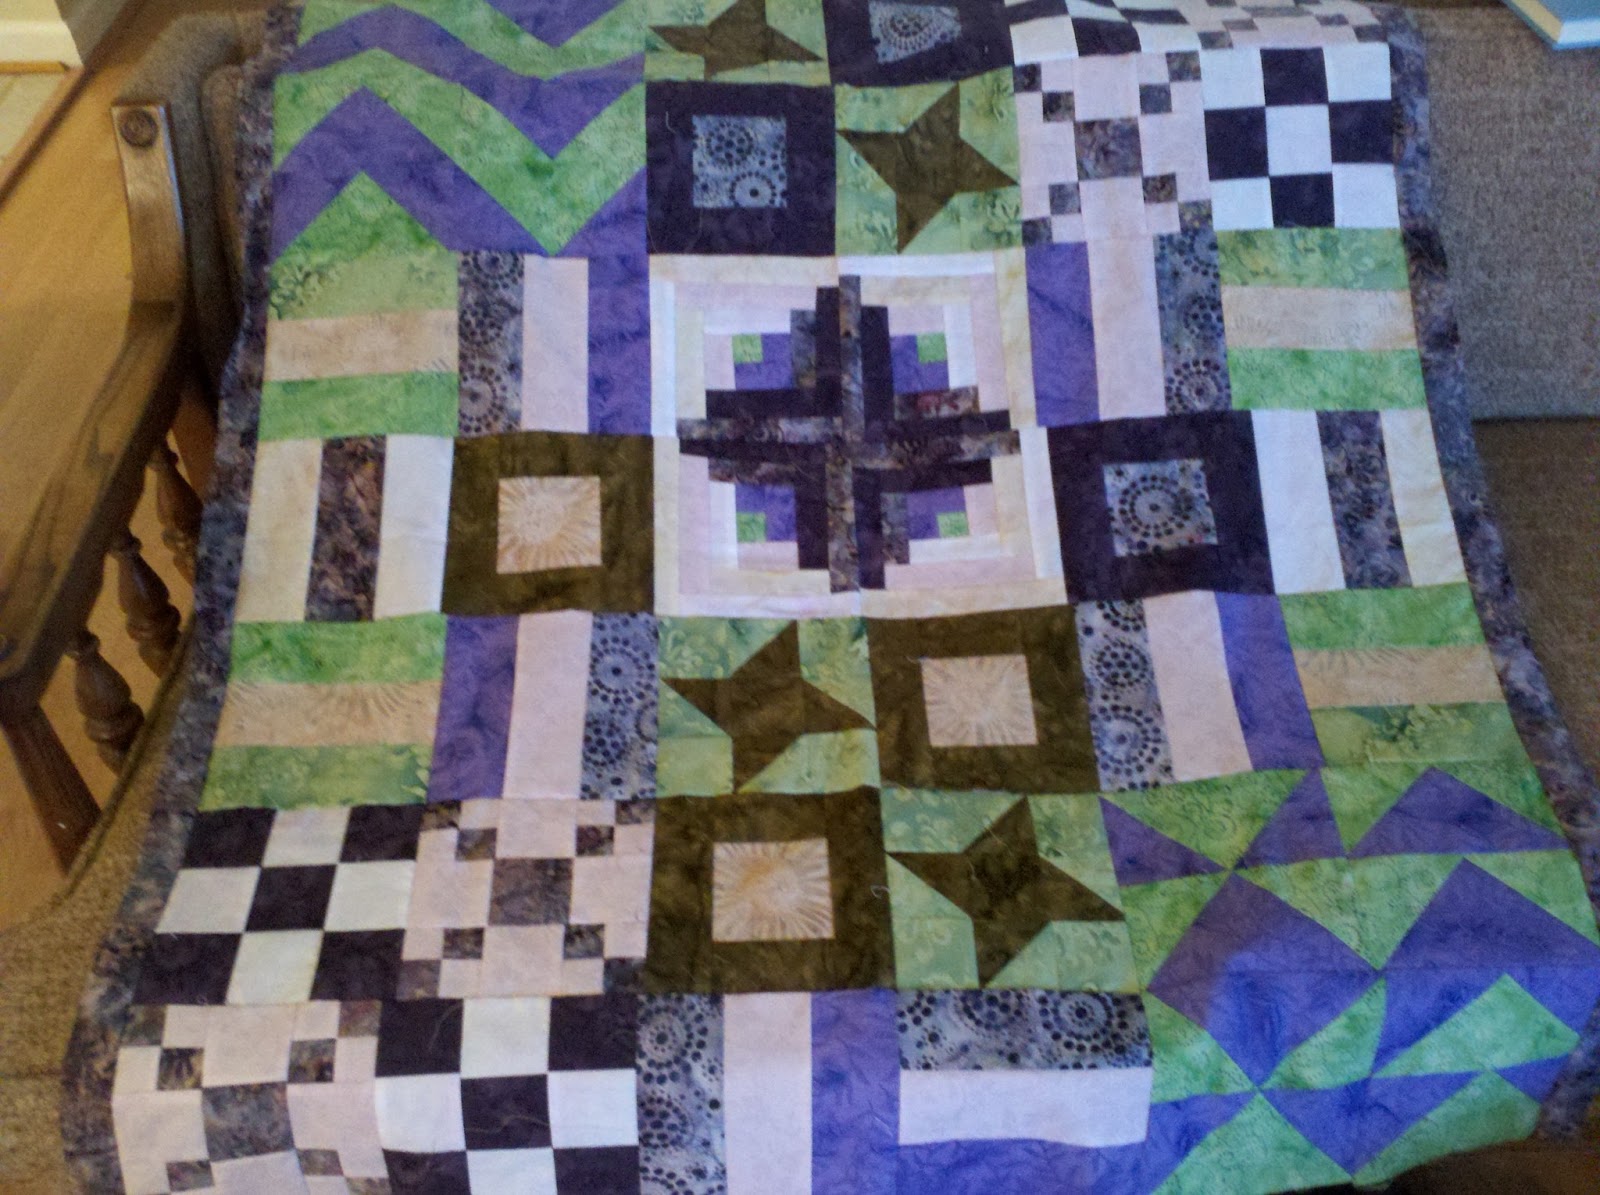
When all of the blocks were completed, I decided on where to place them. I changed my mind several times.

Then I put them in order of how I would sew them together in rows. Then I sewed the rows together.

After the blocks were sewn together, I then sewed on an inside border

Then an outside border

Then I created the quilt sandwich. front quilt, inside batting, and back fabric. I pinned it together every couple of inches starting from the center to keep it from bunching up while I quilted it.

Used tape to mark each line that I quilted

Here you can see the crisscrossing of the quilting lines. This took awhile.

Last step was to sew on the binding to the edges. Front machine sewn and back, hand sewn. This part confused me a bit and I put the quilt aside and knitted. I couldn't let it sit too long, though, it was just too close to the finish.

Finished Product!


Comments
Post a Comment